
“Trust in the universe and respect your hair”
Bob Marley
Faux locs have been a go-to style for me ever since I DIYed them for myself in fall 2019. The learning curve was steep, but I’ve since found my groove. I can now say this style is really one of the cutest, easiest, low-maintenance, protective style you can have. And today, I’m going to show you how I DIY my faux locs.
But first let’s get on the same page
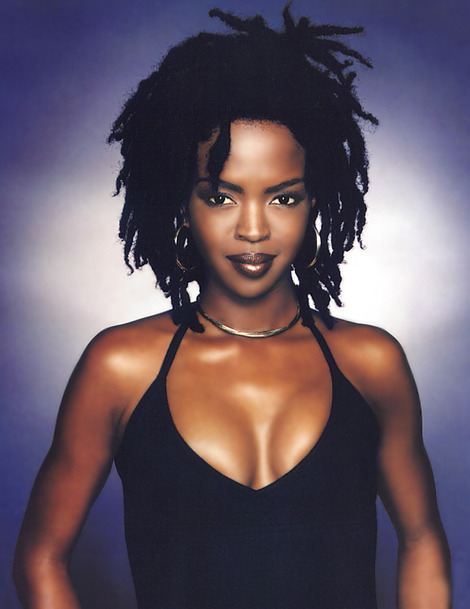
Locs appear in many ancient and current cultural traditions, spanning across many different ethnicities and nations. The style became popularized in America by Bob Marley and the Rastafari Movement in the 70s and eventually grew more popular throughout the following decades. So why might Black Americans call a non-Black person wearing locs a cultural appropriator? The answer is simple.


Racism.
(you didn’t know it was going to be this kind of post did you?)
Black people, especially in America, are often seen as “grimy”, “unprofessional”, or even “dangerous” when rocking this natural style. While other non-Black people are seen as “cool” or “anti-establishment”. Combined with Black skin, this style symbolizes gangs, drugs, and violence in many of its appearances in today’s mainstream media; even in places for which there is no context for those attributions – other than the wearer being Black.
And that’s RACIST.
Y’all remember when Zendaya had to clap back at ole girl back in 2015 because she said Zendaya looked like she smelled of weed on the red carpet? Because her hair was in locs! While she thought she was being funny, she was actually being racist. And this perception can actually have dire consequences for Black people in the real world.
So if you’re a non-Black person should you wear locs? That’s honestly up to you. But if you have, or are considering wearing locs (real or faux), my best advice: know why YOU want to wear them think about weight and importance this style carries for others.
How I DIY My Faux Locs
And remember I said that learning curve is steep y’all 😅
Materials
One of the reasons why I love this style is because you don’t need a bunch of tools and products to make it happen. All you need is:
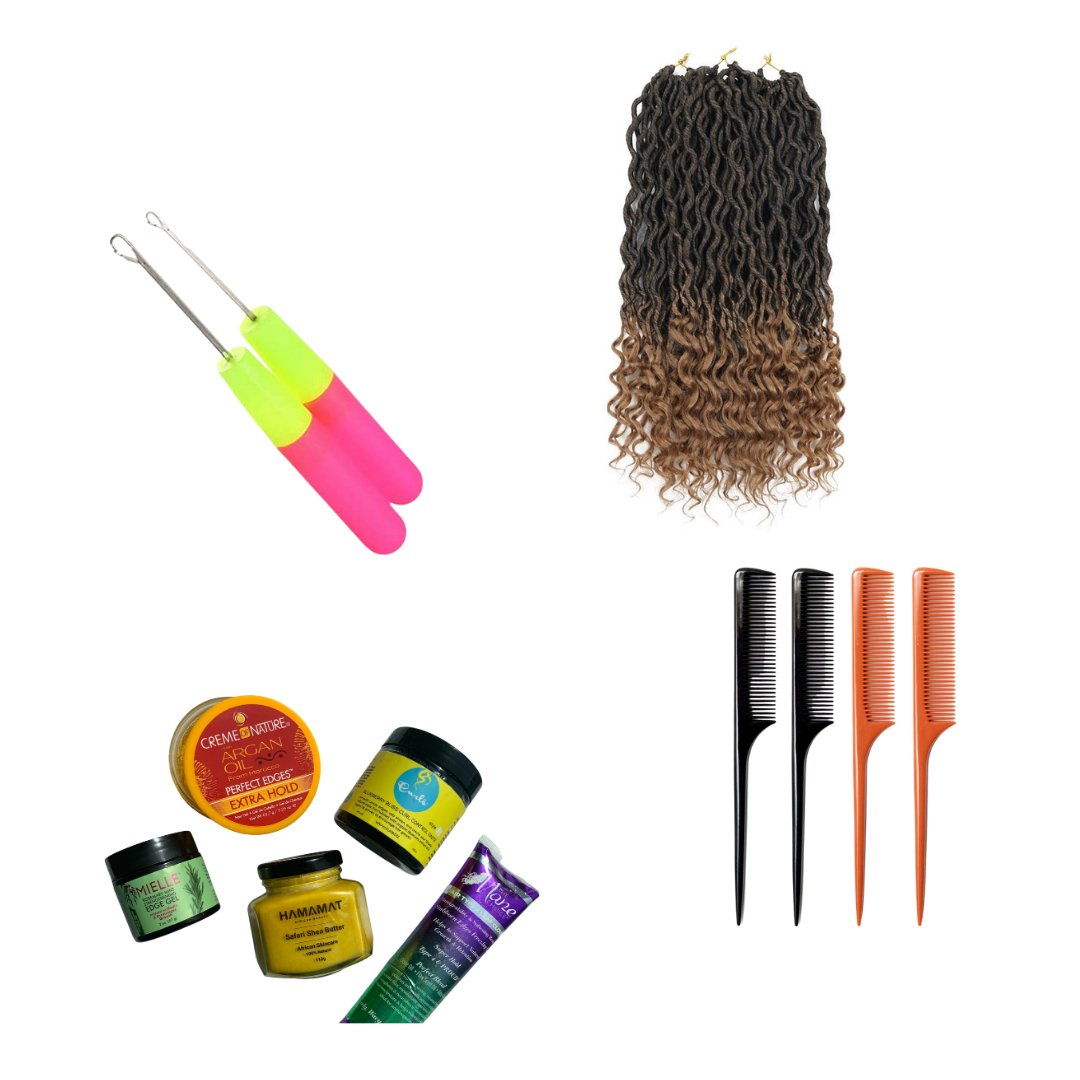
- pre-looped crochet loc hair of your choosing
- I’ve tried out these brands/styles so far:
- Pro-tip: always buy more hair than you’ll think you’ll need because you WILL mess up lol
- a crochet needle/hook
- Pro-tip: some crochet hair packages come with hooks inside so be on the lookout when you purchase
- a comb for parting
- Pro-tip: the smaller your parts, the less perfect they have to be; consider using a rat-tailed comb for more precise sectioning
- your favorite product(s) to slick your edges (optional)
- Pro-tip: while this step is 100% optional, I’ve found it does make the style remain “fresh” longer
- rubber bands (optional)
- Pro-tip: coat your rubber bands with your fav oil prior to using to prevent pulling and breakage
- beads/cuffs/rope to accessorize (optional)
- Pro-tip: some crochet packages come with pre-attached accessories so be on the lookout when you purchase
The Process
Now I will share the step-by-step process I took to achieve this style.
- Begin with a freshly washed head of hair.
- Pro-tip: I prefer to blow dry my hair to make the next step easier but begin with your hair in whatever state is right for you
- Using your comb, begin parting your hair into the desired amount of sections. After each section is created, braid or twist hair down to the ends.
- Pro-tip: grab those optional rubber bands and slicking products to create ponytails with each section first to make it easier to braid or twist
- Pro-tip: complete all sectioning before completing the remaining steps to make it easier to fix a mistake; and remember less parts requires more accuracy, so part wisely and aim to part the hair into at least 24 sections. Don’t be afraid to ask a friend for assistance with this step
- Once all sections have been created you should have 24+ single braids or twists. Now grab your crochet needle and slide it (latched closed) underneath of your first sections of hair. Once through, open the latch and attach your first loc to the hook and close the hook.
- Pro-tip: practice sliding the needle back and forth a few times before moving on to the next step to get a feel for sliding the needle
- Now pull the closed hook and the attached loc back under the section just far enough for about the width of the end of the loc to fit through.
- Pro-tip: be cautious when stretching the loop so that the loc doesn’t accidentally become undone
- Pull your hair and the faux loc through the loop and pull tight
- Partially unravel the faux loc, just enough to begin wrapping tightly around your braid/twist. Continue unraveling and wrapping until all of your hair is covered, inside the loc.
- Pro-tip: before unraveling make sure you pay attention to the way the loc already twists, so that you can wrap in it’s natural direction
- Repeat the process until all locs are covered

And then you’re done!
I hope you enjoy this bomb, low-maintenance style. And if you liked this post, you might also want to check out this post!